








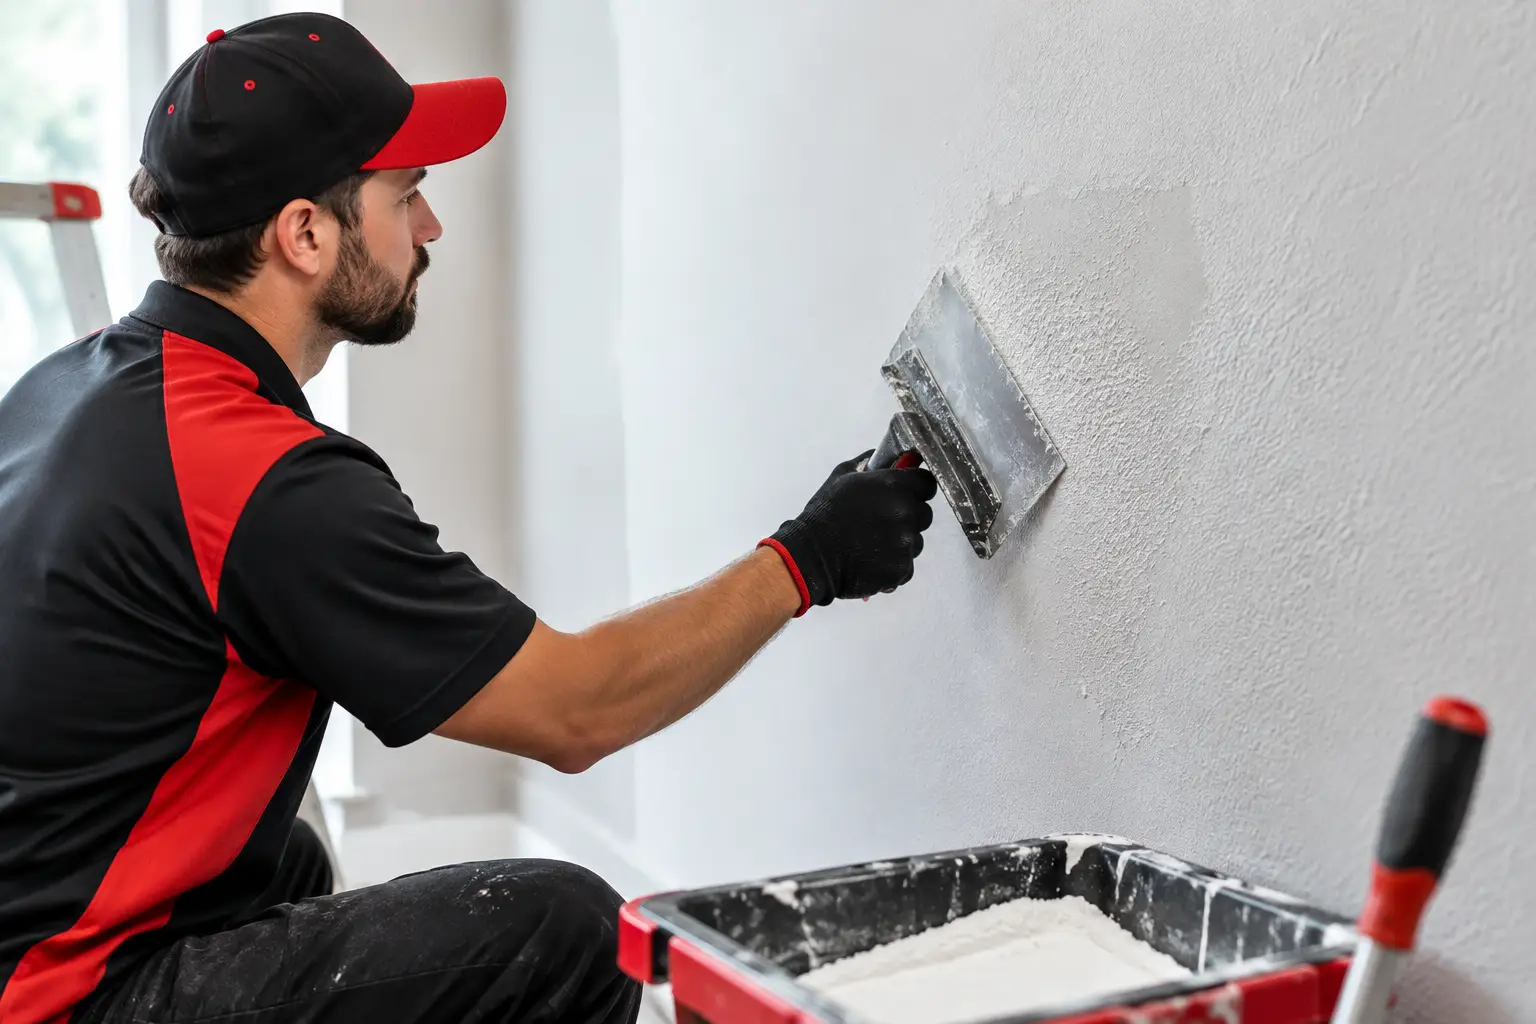
A roof leak may start as a small ceiling stain, but the repair is not finished when the source of the water is stopped. If the patched area has a different pattern, sheen, or thickness than the surrounding surface, the repair can remain visible every time you walk into the room. Drywall texture matching is the careful process of rebuilding that surface so the repair looks like it belongs there.
For homeowners, property managers, and commercial property owners, a clean-looking finish matters. It protects the appearance of the space, helps maintain property value, and avoids the frustration of paying for a repair that still looks unfinished.
Why drywall texture matching is harder than it looks
Drywall texture is not simply decorative. It hides seams, creates a consistent wall or ceiling finish, and can disguise minor movement or imperfections in the drywall. The challenge is that many textures were applied by hand, often years ago, using a specific mix consistency, tool, pressure, and application technique.
Even two walls in the same home may not have identical texture. A builder may have used a different crew, application method, or drywall compound batch in another room. Previous repairs can also create variations that are difficult to spot until fresh paint is applied.
The most common finishes include orange peel, knockdown, skip trowel, smooth wall finishes, popcorn ceilings, and hand-applied textures. Orange peel may look simple, but matching its spray size and density takes practice. Knockdown texture requires the right timing - the material must set slightly before it is flattened. Smooth walls can be even less forgiving because uneven sanding, joint lines, or shallow depressions show clearly in direct light.
Ceilings add another layer of difficulty. Their texture is viewed from below, where lighting can make a small mismatch appear more noticeable. A repair near a light fixture, window, or ceiling fan may need extra blending to avoid an obvious edge.
Start by fixing the cause of the damage
Texture should never be the first step after water damage. Before drywall is patched, the source of moisture needs to be identified and corrected. That may mean repairing a roof leak, damaged flashing, worn sealant, overflowing gutter, plumbing issue, or another point where water entered the building.
In North Texas, wind-driven rain and hailstorms can expose roof and exterior weak points that were not obvious before the storm. Water may travel along framing or electrical runs before it reaches the ceiling, so the stain is not always directly below the entry point. A careful inspection helps prevent a cosmetic repair from covering up an active problem.
The damaged material also needs time to dry fully. If wet drywall is sealed, patched, and painted too soon, trapped moisture can lead to staining, loose texture, peeling paint, soft drywall, or mold growth. Depending on the extent of the leak, affected insulation and drywall may need to be removed rather than dried in place.
A dependable repair process addresses both sides of the problem: stop the water outside or above the ceiling, then restore the interior surface correctly.
What a proper texture repair involves
A lasting repair starts with sound drywall. Loose paper, swollen gypsum, damaged joint tape, and compromised sections should be removed. The patch is installed, secured, taped, and finished with joint compound in thin coats. Each coat needs adequate drying time and careful sanding before the next one is applied.
The goal is not just to make the hole disappear. The repaired area must be feathered beyond the patch so there is no raised border where new work meets the existing wall or ceiling. On a larger repair, this feathering may extend well beyond the original damaged area.
Once the surface is flat and clean, the texture is applied. A skilled technician will usually test the method on scrap material or an inconspicuous area first. This allows them to adjust the compound thickness, spray setting, tool angle, or knockdown timing before working on the repaired surface.
After the texture dries, primer is applied before paint. Primer helps create a uniform surface so the repaired area does not absorb paint differently than the surrounding drywall. Skipping this step can leave a dull spot, flashing, or uneven sheen even when the texture itself is a close match.
When spot matching works and when it may not
A small, well-executed spot repair can blend in very well, especially with a common orange peel or light knockdown texture. If the surrounding paint is relatively new and the repair is away from strong natural light, the patched area may be difficult to find once painted.
However, there are times when a larger area should be textured and painted for a more consistent result. This is often the better choice when the wall has sun fading, the ceiling paint has aged, the repair is large, or the original texture is unusually heavy or hand-applied. Blending texture into a wider area may reduce a visible transition, while painting the full wall or ceiling plane helps avoid a color or sheen difference.
A contractor should explain this trade-off clearly. The least expensive option is not always the option that delivers the best appearance. On the other hand, repainting an entire room is not automatically necessary for every small repair. The right scope depends on the location, finish, lighting, paint condition, and the owner’s expectations.
Common mistakes that leave a patch visible
The most noticeable drywall repairs usually fail for one of a few predictable reasons. Texture is sometimes applied before the joint compound is sanded flat, leaving a raised outline around the patch. In other cases, the texture pattern is too heavy, too light, or applied in a different direction than the existing finish.
Paint is another frequent issue. A paint color can be technically correct but still look different because the existing surface has faded or because the new paint has a different sheen. Flat ceiling paint is common, but it can still flash when the repaired area was not primed or when the paint is touched up with a different product.
Rushing drying time creates problems as well. Wet compound can shrink, crack, or pull away from the surface. When a leak has occurred, rushing the drying process also risks concealing moisture that has not been resolved.
For older popcorn ceilings, repairs require additional caution. Some older materials may contain asbestos, and scraping or disturbing the texture without appropriate testing can create an unnecessary health risk. A professional should evaluate older ceiling finishes before removal or repair work begins.
Why coordinated exterior and interior repairs matter
Water damage rarely stays within one trade. A roof issue may affect decking, insulation, drywall, texture, paint, fascia, soffit, or exterior sealants. Handling only the stain on the ceiling can leave the property vulnerable to the next storm.
That is why thorough documentation is valuable after a leak or storm event. Clear photos of the roof condition, interior staining, damaged materials, and completed repairs help owners understand the work and can be useful during an insurance claim. Salter Exteriors has assisted with more than 2,500 claims and understands that proper restoration means identifying the work needed, not simply addressing the most visible symptom.
For commercial properties, coordination can be especially important. A ceiling repair in an office, church, retail space, or multifamily building may need to be scheduled around tenants, customers, inventory, or operating hours. Protecting the space, keeping the work area clean, and communicating the schedule clearly are part of a professional repair.
How to prepare for a drywall repair
Before work begins, remove fragile items and furniture from the immediate area when possible. Repairs create fine dust during sanding, even when the crew uses containment and cleanup measures. If furniture cannot be moved, it should be covered and protected.
It also helps to point out every area that has shown staining, bubbling paint, soft drywall, or a musty odor. Small signs can help identify whether moisture traveled farther than the most visible damaged area. If the issue followed a storm, save photos from the day you noticed it and keep records of any temporary steps taken to protect the property.
A quality repair should leave you with a dry, stable surface and a finish that does not call attention to itself. If a ceiling stain or damaged wall appeared after a leak, address the moisture source first, then give the texture and paint work the same level of care. That extra attention is what turns a patch into a repair that feels complete.
Questions about your roof? Call or text Aaron at 972-246-7448.
Thanks for reading,
Aaron
Salter Exteriors, Fort Worth, TX, serving Tarrant County and North Texas · Call or text 972-246-7448
Related services and service areas
Need help with what this article covers? Salter Exteriors Roofing & Remodeling handles roof repair, drywall repairs and emergency roof tarping. See our local pages for Fort Worth, Arlington and Burleson, plus the rest of our North Texas service areas. Text or call 972-246-7448 to request a free roof inspection.