








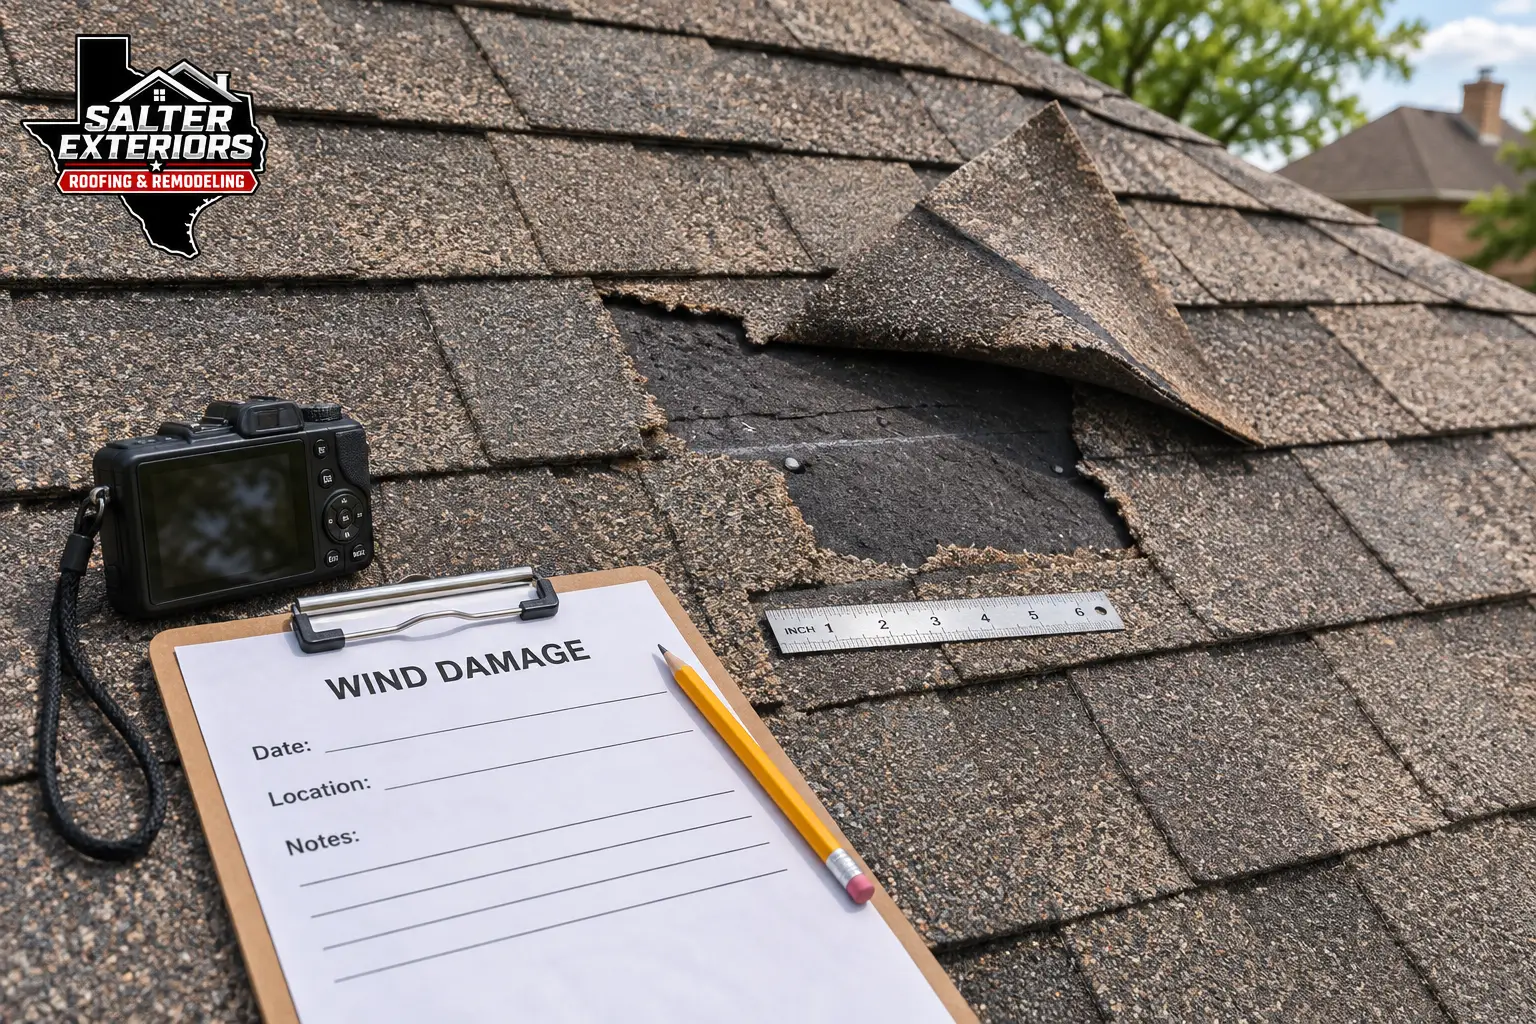
A strong windstorm can loosen shingles, bend metal, pull flashing away from a roofline, and send debris across a property in minutes. The damage is not always obvious from the ground, and waiting too long can make it harder to show what happened. Knowing how to document wind damage gives you a clear record for repairs, insurance conversations, and protecting the property from additional water intrusion.
Quick Answer: How Do You Document Wind Damage?
Stay safe and off the roof, then photograph every side of the property from the ground, followed by medium and close-up photos of each damaged area. Write a log that same day of the storm time, what you saw and when leaks started, photograph interior water damage separately, and keep receipts for any emergency tarping or cleanup. Store everything in one folder, avoid permanent repairs until the damage is recorded, and have a roofer inspect anything you cannot safely see.
The goal is not to diagnose every roofing issue yourself or take risks on a wet roof. Your job is to preserve accurate evidence: what the property looked like after the storm, where damage appears, what temporary steps were needed, and how conditions changed over time.
Start With Safety and Prevent Further Damage
Document the property from a safe location first. Stay off a steep, wet, or visibly damaged roof. Keep clear of downed power lines, unstable trees, hanging gutters, and loose siding. If wind has damaged a commercial roof, restrict access to affected areas until a qualified professional can inspect it safely.
Once conditions allow, take wide photos around the entire building. Start from the street or parking area, then photograph each side of the home or structure. This establishes the condition of the full property and helps show the direction and extent of the storm's impact.
If rain is still entering the building, protecting the interior takes priority. Place containers under active drips, move furnishings and equipment away from wet areas, and use temporary covering only if it can be done safely. Keep receipts for emergency tarping, water removal, temporary repairs, and damaged personal property. Do not discard damaged materials before they have been photographed and, when appropriate, reviewed by your insurer or contractor.
How to Document Wind Damage With Clear Photos
Good photographs tell the story better than a single close-up ever can. Use your phone's normal camera setting and leave the date and time enabled if possible. Take more photos than you think you need, but keep them organized by area of the property.
For each damaged location, take a wide photo to show where it is, a medium-distance photo to show its relationship to surrounding materials, and a close-up photo that captures the detail. For example, if you see lifted shingles near a roof valley, photograph the full slope from the ground, the valley area with a zoom lens if it is safe, and the shingle edges themselves if accessible without climbing.
Wind damage can appear differently depending on the roofing material. On an asphalt shingle roof, watch for missing shingles, lifted or creased tabs, exposed nail heads, displaced ridge caps, torn seal strips, and broken or loosened flashing. On standing-seam metal roofing, look for lifted panels, bent trim, separated seams, loose fasteners, and flashing that has pulled away around penetrations or edges.
Low-slope commercial roofs need careful attention as well. Wind can affect membrane seams, coping metal, edge metal, roof drains, rooftop equipment curbs, and flashing around pipes or walls. A puddle after rain does not automatically prove wind damage, but photos of open seams, displaced materials, or water entering at a specific location can be very useful.
Do not overlook the rest of the exterior. Photograph gutters, downspouts, fascia, soffits, siding, fences, windows, screens, chimney flashing, roof vents, skylights, and detached structures. Wind damage often affects connected exterior systems, and a complete record helps prevent smaller repairs from being missed.
Record the Storm Details While They Are Fresh
Photos matter, but written notes add context that images cannot provide. Create a simple storm-damage log the same day if possible. Include the date and approximate time of the storm, the property address, visible weather conditions, and when you first noticed the damage or leak.
Describe what you observed in plain language. Notes such as "water dripping from ceiling near rear bedroom after wind-driven rain" or "three shingles found in backyard near east roof slope" are more useful than guessing at the cause. If you noticed loud impacts, rattling vents, a section of gutter pulling loose, or debris striking the building, record that too.
For commercial properties, note whether the event interrupted operations, affected tenant spaces, required temporary closures, or damaged equipment. Property managers should also record calls or reports from tenants, staff, and maintenance personnel. Keep those reports together with the photos rather than relying on memory weeks later.
It also helps to photograph debris before it is cleaned up. A fallen branch, damaged sign panel, roof material in a yard, or pieces of flashing on the ground may help establish the scope of the storm. Just avoid handling sharp metal, broken glass, or materials near electrical equipment.
Document Interior Water Damage Separately
A roof problem may first show up indoors. Photograph stains, wet drywall, bubbling paint, damp insulation, warped flooring, and water around windows or exterior walls. Take both a room-wide image and closer images of the affected materials.
Continue documenting the area over the next several days. A ceiling stain can expand after the storm has passed, and moisture trapped behind walls or above ceilings may not be visible immediately. If a leak is active, make a brief note about the weather conditions each time it occurs. This can help distinguish a one-time overflow or plumbing issue from a recurring roof or exterior-envelope leak.
Do not paint over stains, replace wet drywall, or make permanent repairs until the damage has been thoroughly documented. Emergency mitigation is often necessary, especially when water is present, but take photos before work begins and again after temporary protection is installed.
Keep Estimates, Receipts, and Inspection Findings Together
Create one folder for the claim or repair project. A digital folder with dated subfolders works well, and a paper file can be helpful for receipts and printed reports. Keep the original photo files whenever possible, rather than sending only screenshots or edited images.
Your documentation folder should include:
- Photos and videos of exterior and interior conditions
- Your storm-damage log and any tenant or employee reports
- Receipts for tarping, cleanup, mitigation, or temporary repairs
- Contractor inspection reports, photo reports, and repair estimates
- Insurance claim information, adjuster notes, and correspondence
- Before-and-after photos once repairs are complete
An inspection report from an experienced roofing contractor can be especially valuable when the damage is difficult to see from the ground. It should identify visible concerns, show supporting photos, explain the recommended scope of work, and distinguish storm-related issues from normal wear when the evidence allows. Honest documentation matters. A credible report should not claim damage that is not present, and it should not overlook needed repairs just because they are inconvenient to explain.
Avoid Common Documentation Mistakes
The most common mistake is waiting. Wind-lifted shingles can settle back down, loose materials can blow away, and later rain can create additional damage that is harder to separate from the original event. Photograph the property as soon as it is safe.
Another mistake is taking only close-up images. A close photo of a torn shingle may show the detail, but without a wider image it may not show where the damage is located or how it affects the roof system. Use the wide, medium, and close-up approach consistently.
Avoid making permanent repairs before documenting the condition, unless an urgent safety or water-intrusion issue requires immediate action. If emergency work is necessary, document before, during, and after the work. Also, be cautious about signing repair agreements before you understand the scope, price, materials, and whether the work is temporary or permanent.
Finally, do not assume every problem after a storm will be covered by insurance. Coverage depends on the policy, deductible, prior condition, and the cause of the damage. Clear documentation does not guarantee an outcome, but it gives you and your insurer a more accurate basis for evaluating the loss.
When to Schedule a Professional Inspection
Schedule an inspection promptly if shingles are missing or lifted, water has entered the building, flashing or gutters are loose, debris hit the roof, or you can see damage from the ground. It is also wise to schedule one after a significant wind event if the roof is older or if the building has had prior leaks.
A professional inspection is particularly helpful for large homes, multi-building communities, churches, and commercial properties where damage may be spread across multiple roof sections. Salter Exteriors Roofing & Remodeling provides free roof inspections with photo documentation and clear repair recommendations for property owners throughout Fort Worth and surrounding DFW communities.
A well-documented wind event puts you in a better position to make calm, informed decisions. Protect the property, preserve the evidence, and get qualified eyes on any area that could allow water in. Small issues are easier to address before the next storm turns them into a larger repair.
How to Document Wind Damage FAQ
What is the first thing to do after wind damage to my roof?
Make sure everyone is safe, stay off a wet, steep or damaged roof, and photograph the property from the ground. If water is entering the building, protect belongings and arrange temporary protection such as a tarp, and keep your receipts.
What photos should I take of wind damage?
Take wide photos of every side of the property, then a medium photo and a close-up of each damaged area. Include the roof, gutters, fascia, soffits, siding, fences, windows and any interior water stains, and keep the original files with the date and time.
Should I wait for the insurance adjuster before making repairs?
You should document the damage first, but you should not let active water entry continue. Reasonable emergency steps such as tarping are normal. Photograph the area before and after, keep receipts, and avoid permanent repairs until the damage is documented.
How soon after a windstorm should I document the damage?
As soon as it is safe. Lifted shingles can settle back down, loose materials can blow away, and later rain can add new damage that is harder to separate from the original storm.
Does documenting wind damage guarantee insurance coverage?
No. Coverage depends on your policy, deductible, the condition of the roof before the storm and the cause of the damage. Clear documentation simply gives you and your insurer an accurate record to evaluate.
When should I call a roofer after a windstorm?
Call after a significant wind event if shingles are missing or lifted, flashing or gutters are loose, debris hit the roof, you have a leak, or the roof is older. A roof inspection can find damage that is hard to see from the ground.
Need a roof checked after a windstorm? Call or text Aaron at 972-246-7448 for a free roof inspection.
Thanks for reading,
Aaron
Salter Exteriors, Fort Worth, TX, serving Tarrant County and North Texas · Call or text 972-246-7448
Related services and service areas
Documenting storm damage often leads to roof, gutter and exterior repairs. Salter Exteriors Roofing & Remodeling provides roof repair, storm restoration, emergency roof tarping, gutter replacement and fascia and soffit repair, and you can see typical starting prices on our roof repair pricing page. In Fort Worth, see roof repair in Fort Worth, TX and our Fort Worth service area page. For related reading, see how to document hail damage, insurance claim documentation after storm damage, roofing photo documentation and storm damage steps to protect your property. We also serve Arlington, Mansfield, Grand Prairie and the rest of our North Texas service areas. Text or call 972-246-7448 to request a free roof inspection.